Basic Overview
EazyE2E aims to be a powerful framework that can accomplish all of your WPF/Winforms automation needs while being simple, straightforward and easy enough that writing scalable and functional unit tests. EazyE2E essentially functions as a wrapper around various Windows-provided code that, in and of itself, is not particularly easy to use nor is it particularly intuitive. With EazyE2E, you can harness this functionality without having to get into the weeds of writing scaffolding and boiler-plate code. Finally, EazyE2E exposes various underlying Windows-provided functionality where applicable, so if you ever find yourself in a situation where it doesn't seem like EazyE2E is providing you with what you need, you can temporarily step outside of EazyE2E's functionality and get your hands dirty!
Getting Started
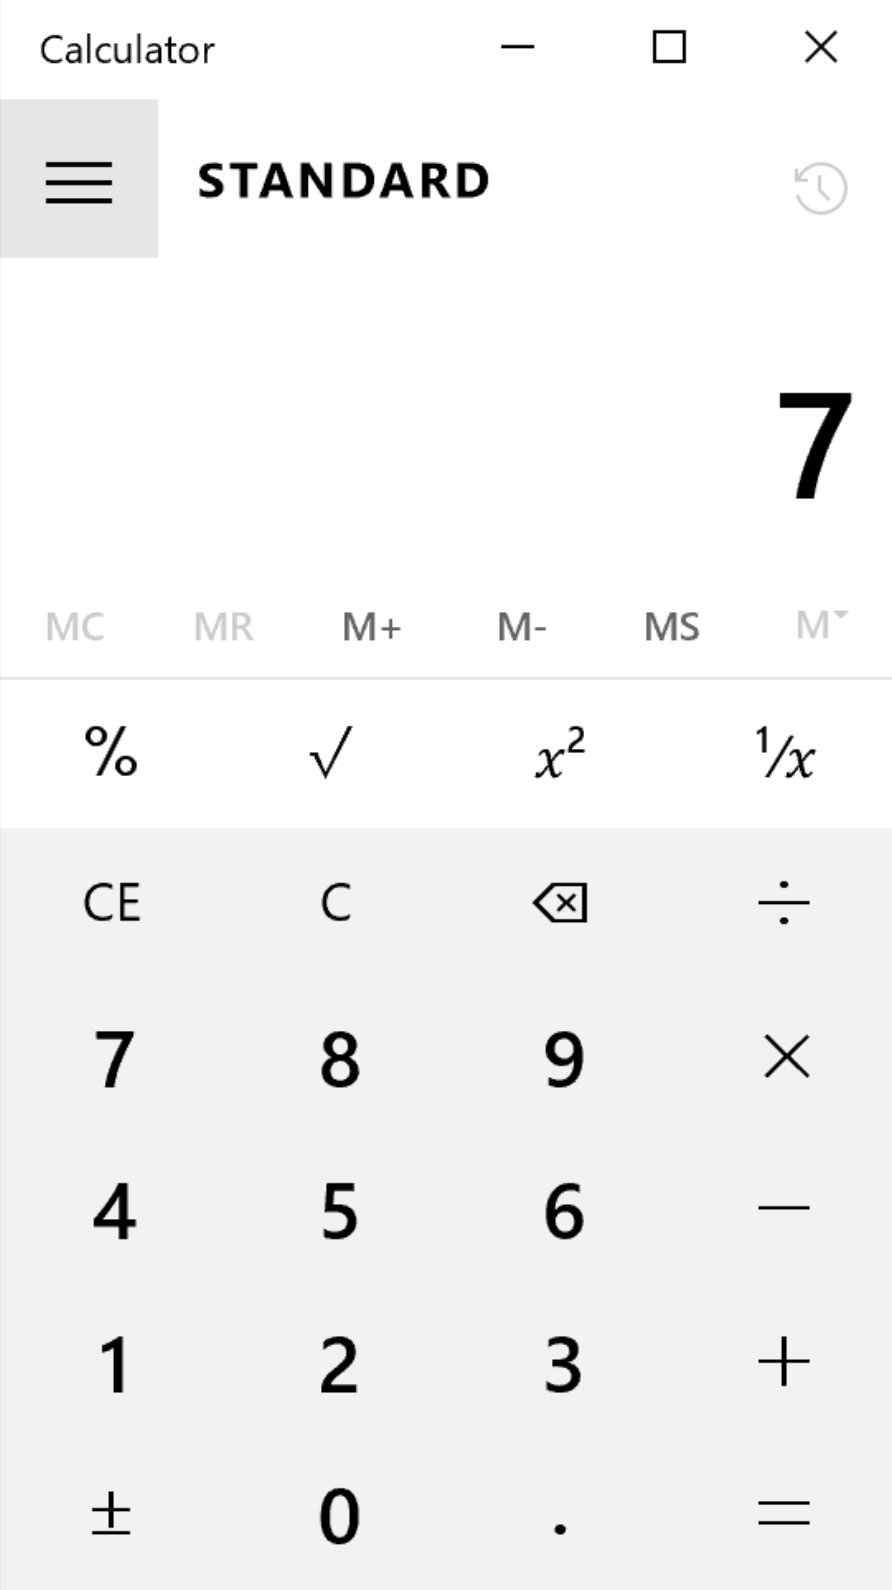
This page provides a tutorial that will guide you through the steps to create a functional automation application from scratch. In this tutorial, we will be launching the Windows built in calculator application and clicking the "7" button.
Setting Up Your Project
The first step to getting an EazyE2E project up and running is to install Visual Studio 2015 or Visual Studio 2017. Once you have done this, go out to NuGet and get the EazyE2E package (see instructions on the home page). Once you have referenced the EazyE2E NuGet package, you will want to create a new console application project (note that when we actually set this up properly, you will want to do this as a class library and hook up some unit tests via NUnit or some other unit testing framework). Now that you have a project set up, inside your main method, you can use EazyE2E to launch and hook into your application. For our examples in this tutorial, we will be using the Windows' built in calculator app. It can be launched like this:
    const string calculatorPath = "C:\\Windows\\System32\\calc.exe";
    using (var process = new EzProcess(calculatorPath, "Calculator"))
    {
    }
💡 Note
Wrapping your process instance in a using statement will help prevent memory leaks. Strictly speaking you do not have to do this, but it is advisable.
Finding Elements
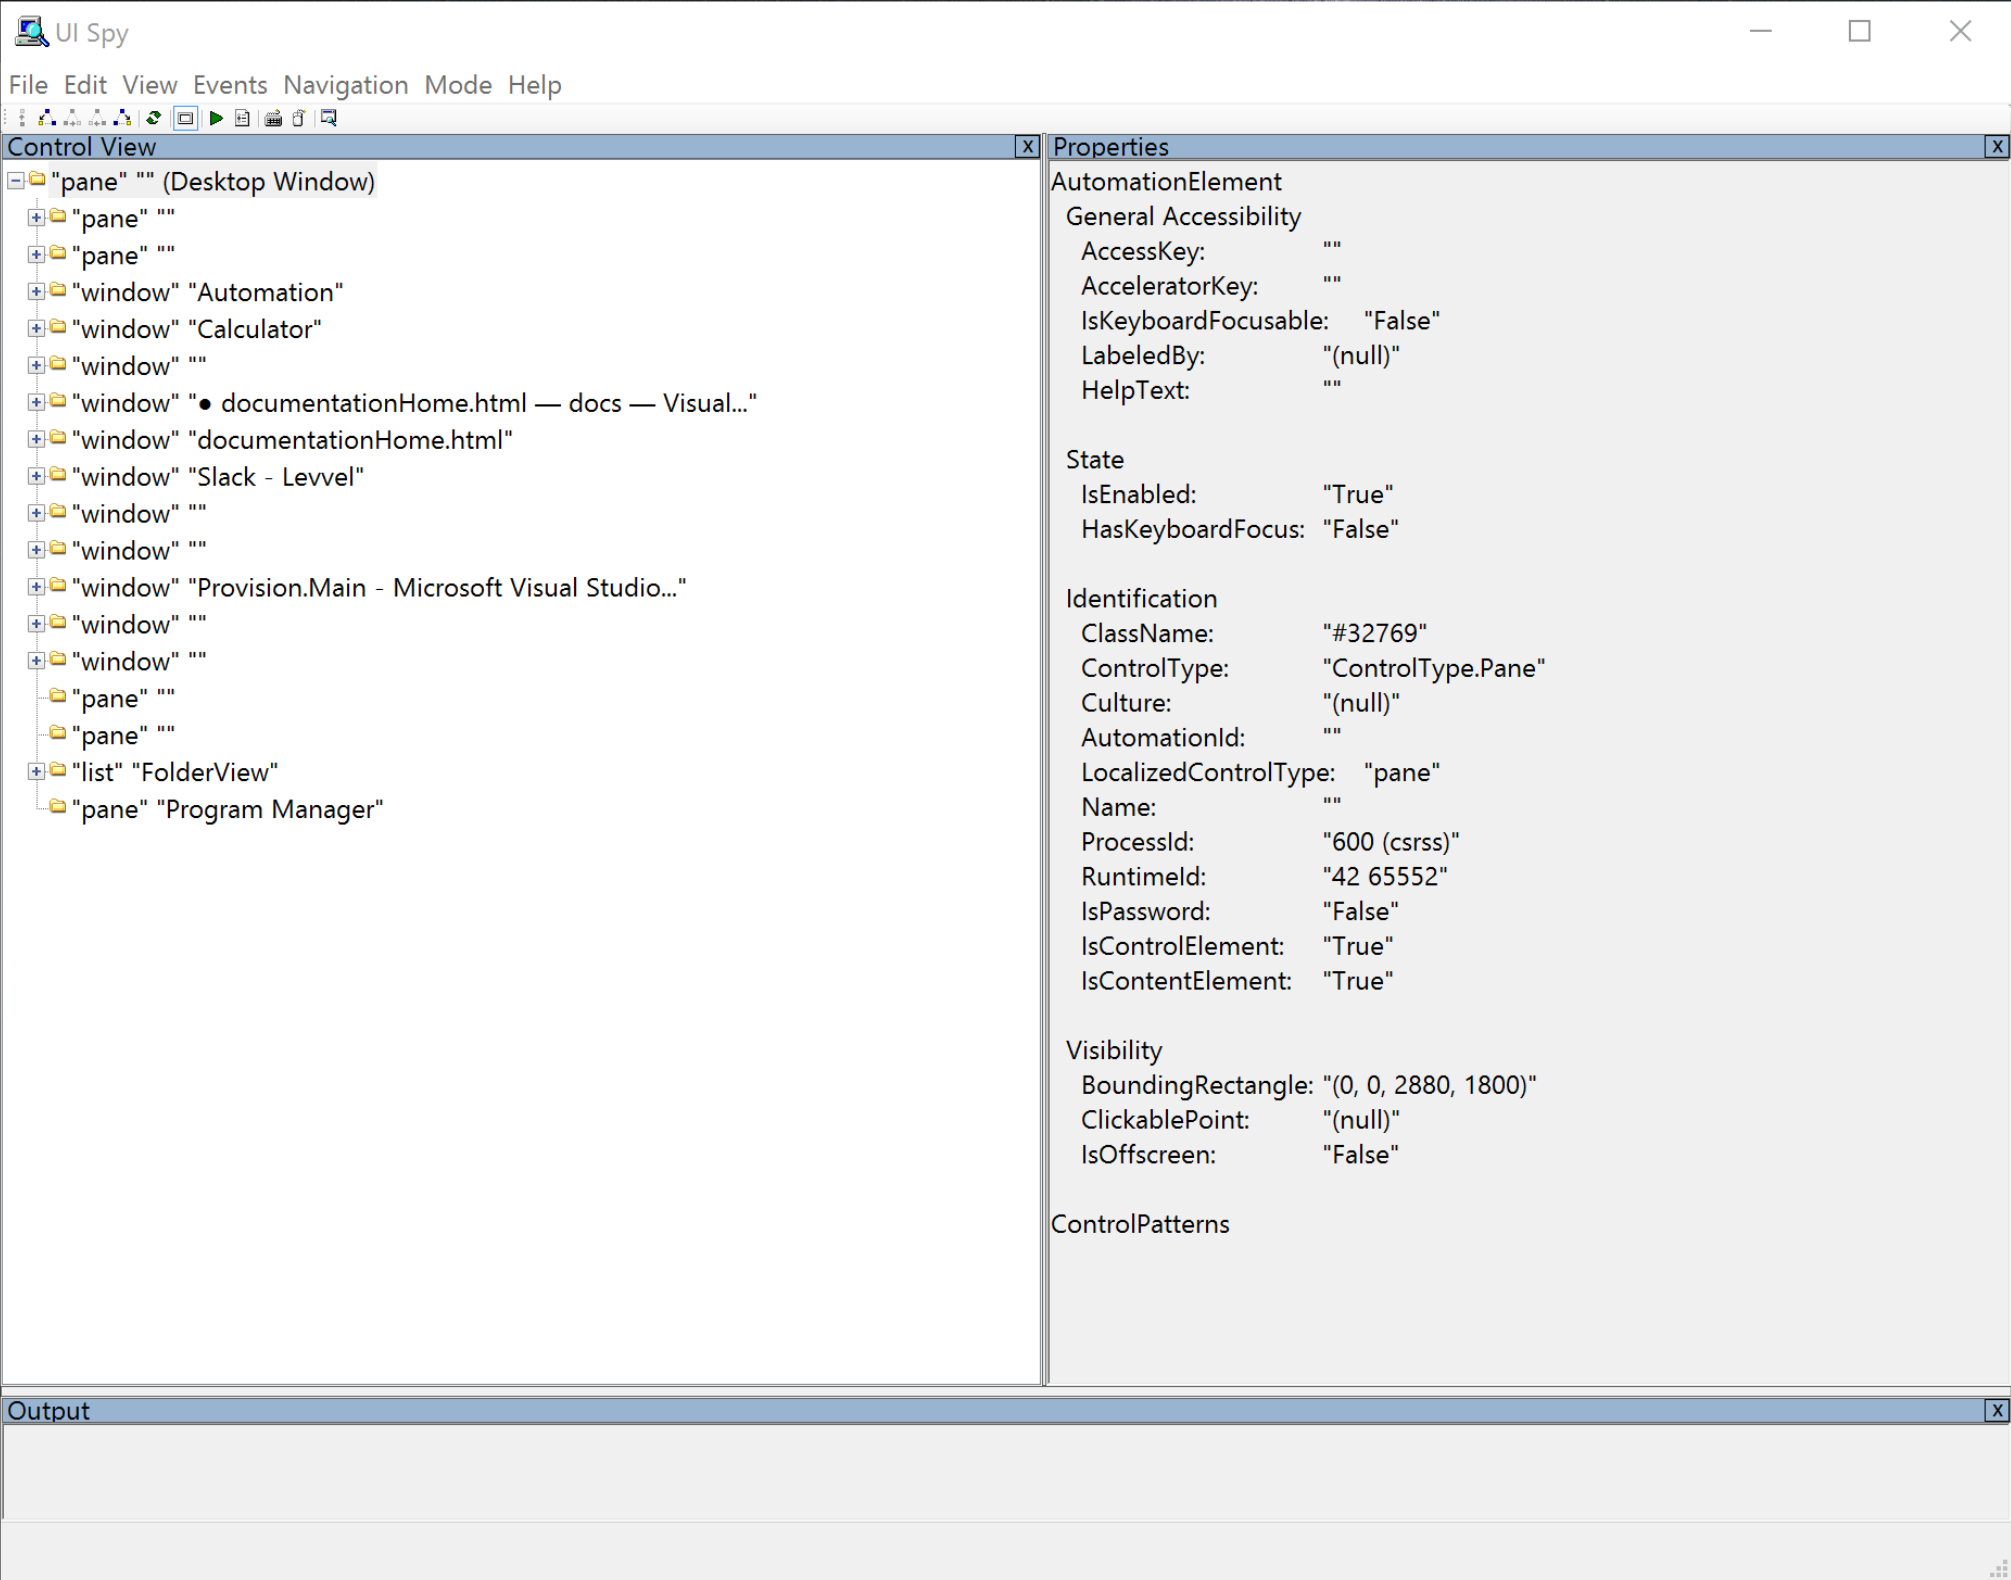
Before you start automating, it is important to understand how WPF and Winforms applications work with regards to their UIs. WPF is written in a language called XAML which, similar to html, is a markup language with a hierarchical structure meaning that elements are nested within other elements. When you want to automate an application it is first necessary to use a tool (usually called a spy tool) to locate the element that you want to interact with. The choice of what spy tool to use is entirely up to you, but I recommend a Microsoft tool called UISpy. It is a little dated to be honest, but I have yet to find one that I think is truly better (while also being free). You can download a copy here. Through your spy tool, you can walk the automation tree in order to find the element that you are looking for.
Finding Elements With a Spy Tool
Let's use an example here. Suppose that for your very first action with EazyE2E, you want to launch the calculator application and find the "7" button and then click it. This is a very straight forward thing to do manually, but doing it with an automation tool takes a little more know-how (the obvious advantage though is that now you only have to write the code once and then you never have to click the button manually as part of a regression test again). The first step in finding an element with EazyE2E and interacting with it is to find it with your spy tool. The spy tool will give you enough information to tell EazyE2E how to search for the element.
Using UISpy, there is a very easy way to find an element. In UISpy, in the top row of icons, there is one that looks like a mouse. If you click that so that it is highlighted with a blue rectangle, then all you need to do is move your mouse to the element that you want to find and hold the Ctrl key.
You will see UISpy start to flash a little bit. After a second, you will notice that the folder structure on the left side will change. If you try hovering over the "7" button and holding the Ctrl key on your keyboard, you will see the UI Automation tree structure; this will provide you with a path to find the element that you are looking for.
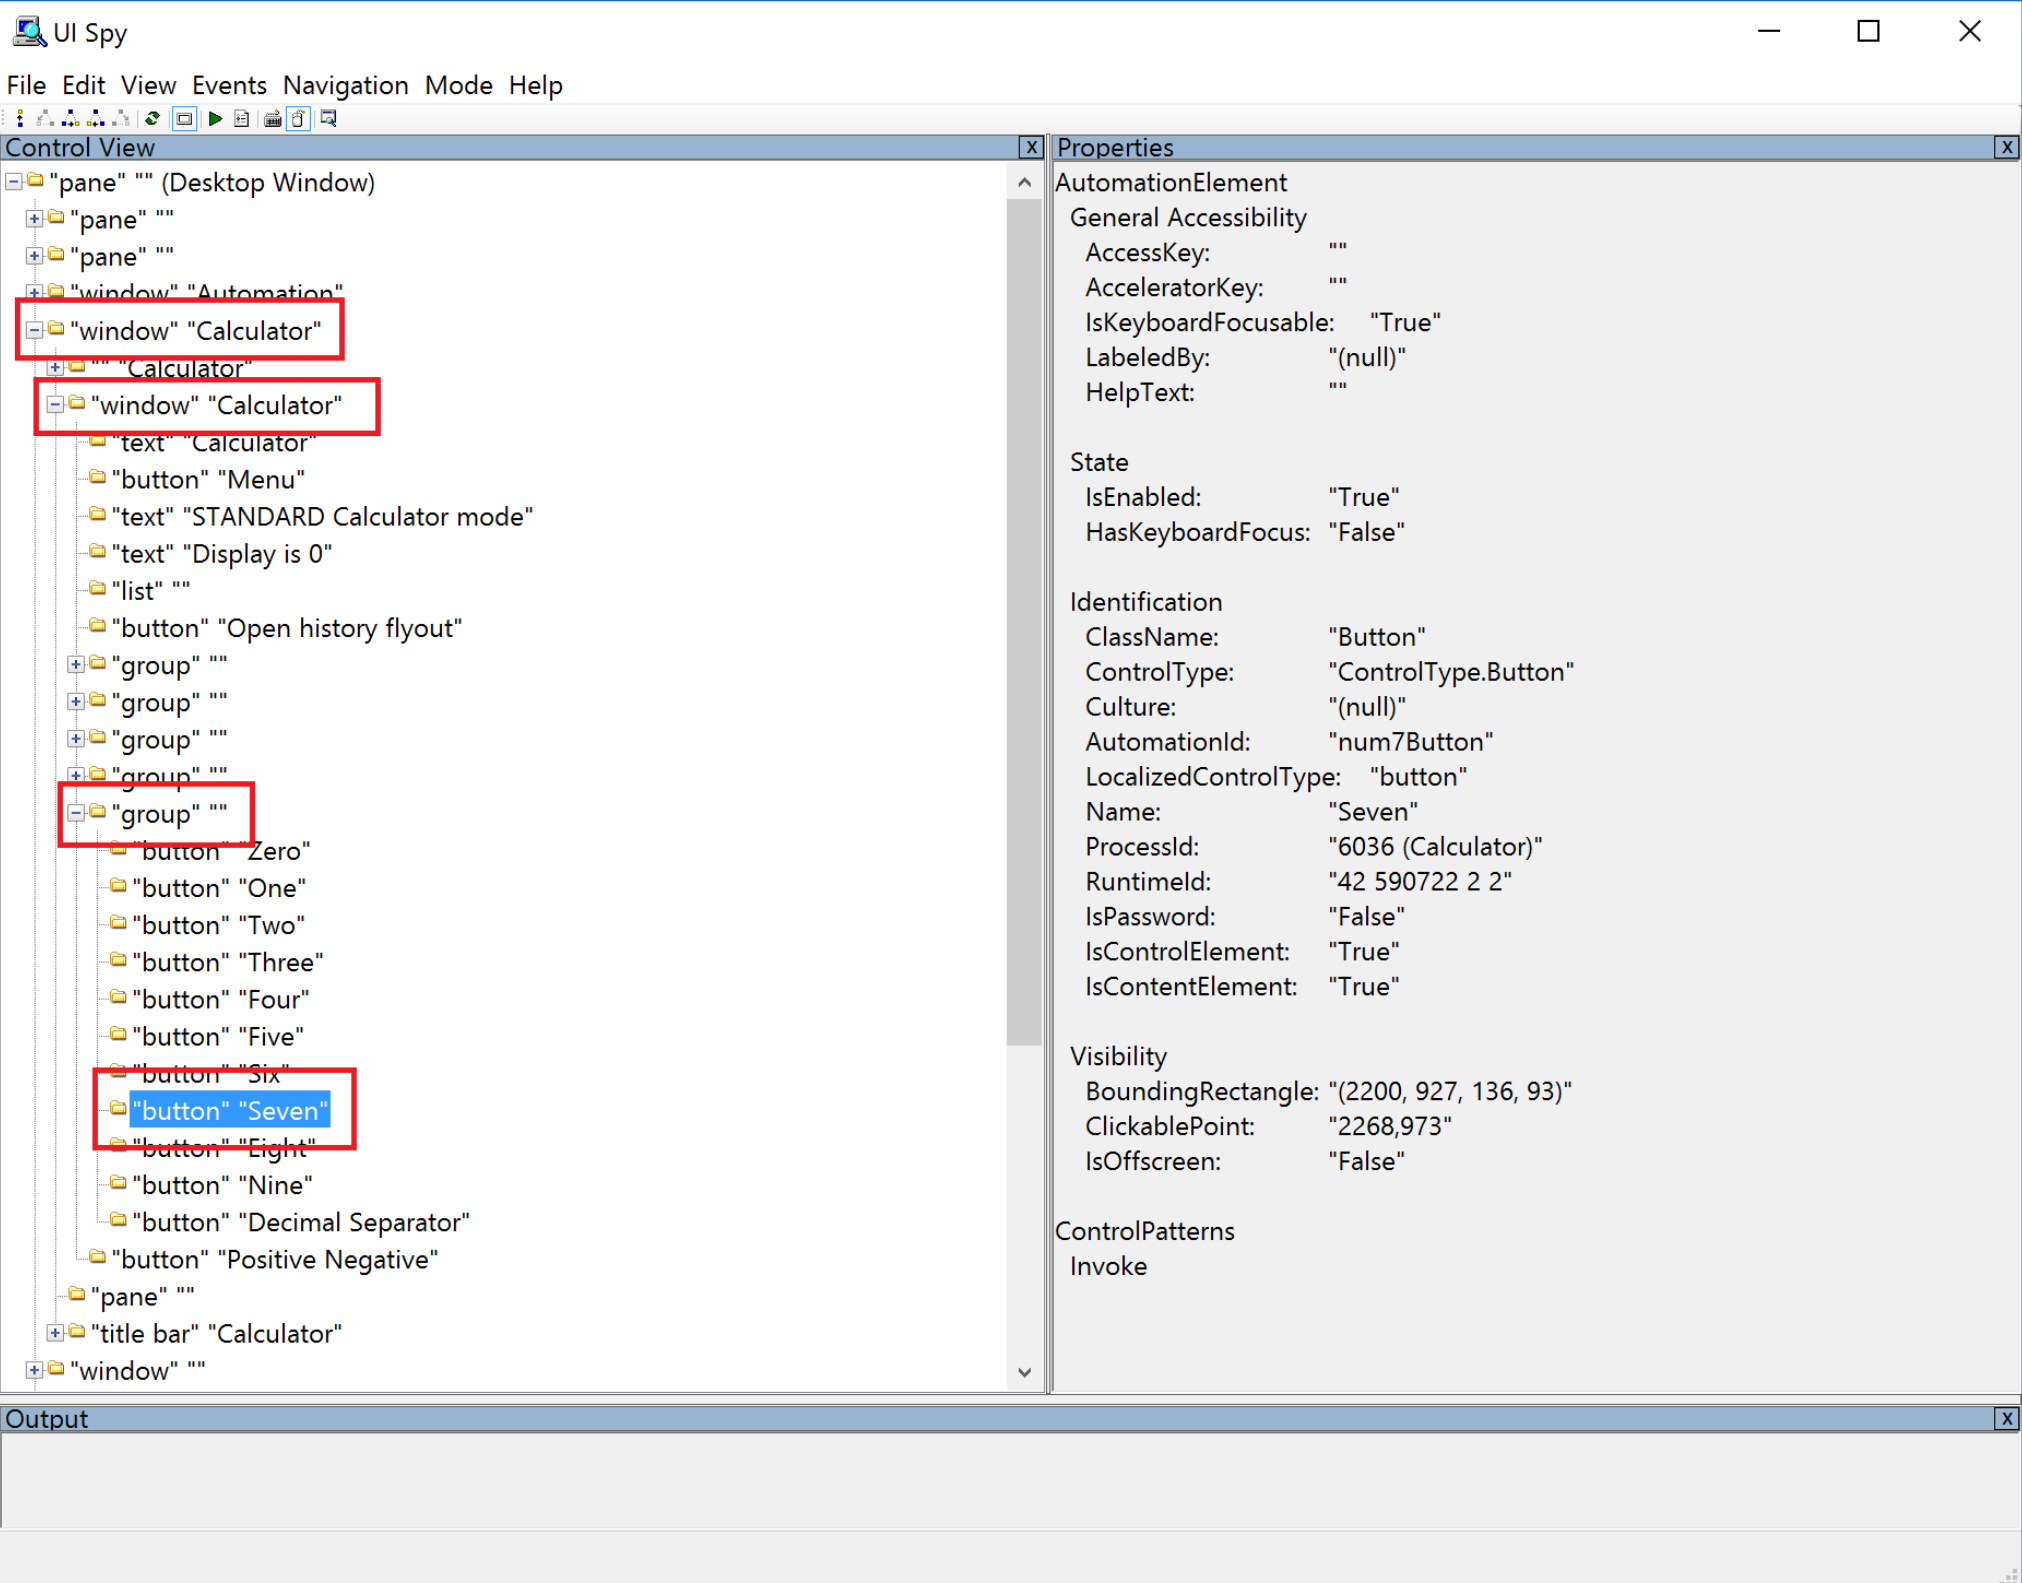
Looking at the above image, you will see, based on the UI tree, where the element that you are looking for lives. This will be important information later on when we go to find the element using EazyE2E.
💡 Note
After you have found your element, you should click the mouse icon in UI Spy again to turn this feature off, otherwise every time you hold the Ctrl key UISpy will rescope to whatever element you are currently hovering over.
Finding Elements With EazyE2E
Using a FindDescendant Method
Now that we understand both what we are looking for and the steps that we need to take to find it, we can start using EazyE2E. The first step to finding any element is to get the root element for your process. This is done via a class called EzRoot, and a new instance of it can be created with an EzProcess instance (which we created previously).
    const string calculatorPath = "C:\\Windows\\System32\\calc.exe";
    using (EzProcess process = new EzProcess(calculatorPath, "Calculator"))
    {
      EzRoot root = new EzRoot(process);
    }
This instance of EzRoot serves as the base of the application itself. From here, you can walk the UI tree to find the element that you want to interact with. Let's continue to use the example laid out above (supposing that you want to launch the calculator application and click the "7" button). Take a look above at Figure 1.3. Notice that the UI Element highlighted is called "Seven" on the left hand side of the UI. This is the element that we ultimately want to get. In order to do that, we need some unique information about this item that we can use to query by. One of the best properties to query by is AutomationId. Note that if your application does not use AutomationId properties, have a developer set them for you with unique names that you can use to walk the UI Automation tree. This will be very helpful for you and will make your tests much more efficient.
Looking at Figure 1.3, see the right hand side of the UI, specifically in the sub-section called "Identification". This section provides all information about the highlighted element that can be used to identify it. Notice that the "7" button has an AutomationId property of "num7Button". A developer for this application was very kind and set that property for us. We can use that information to query the UI Automation tree for that element. One way to do this (not the best way, but the easiest; more will be explained later) is to use the method FindDescendantByAutomationId which can be called off of our EzRoot element. Then we can pass in the AutomationId value that we got from UI Spy and EazyE2E will search the application and find an element that matches our search criteria.
EzElement sevenButton = root.RootElement.FindDescendantByAutomationId("num7Button");
This new instance of EzElement represents the "7" button that we were looking for. Our entire Main method now looks like this:
      const string calculatorPath = "C:\\Windows\\System32\\calc.exe";
      using (EzProcess process = new EzProcess(calculatorPath, "Calculator"))
      {
        EzRoot root = new EzRoot(process);
        EzElement sevenButton = root.RootElement.FindDescendantByAutomationId("num7Button");
      }
This has the desired effect of finding the EzElement called "sevenButton" which can now be interacted with. However, finding an item or items by descendant is generally bad practice because it is very inefficient. Imagine that you have to deliver a pizza to an address. In this real life example, you would presumably pull up a map and find the best route to go directly to the house requesting the pizza. What you would certainly not do is go to every house in your town and knock on the door asking if anyone there ordered a pizza. Searching for descendants is essentially going door to door asking everyone in an entire town if they had orderd a pizza. Now a computer will check each element much faster than a pizza deliverer can go door to door, but the performance difference is still huge. If you are looking to maintain a large and robust test suite, those performance hits can add up quickly. The preferable way to search for a specific element from the root is to walk the UI Automation tree child by child.
Using a FindChild Method
The other option is walking the tree child by child. This limits the scope of the search to any elements that are a direct descendant (child) of the element that you are currently on. Walking the tree child by child takes a little more planning and requires a little more code but it is ultimately the preferable solution because it means your tests will run much faster. Refer back to Figure 1.3. You should notice that the application under test has a hierarchical structure where each element has 1 parent (or 0 if it is the root element) and 0 to many children. Finding an element in the most efficient way involves finding the root element and then walking child by child until you get to the desired element. Let's look at each element from the root to the "7" button and see what properties we will need to obtain in order to walk the UI tree.
Whenever you are searching for an element child by child, you will need to start with the root element (the same way that you would if you are searching for descendants). Take a look at Figure 1.3 and notice that there are 3 steps along the way from the root element down to the number "7" button. We'll need to find the AutomationId of each one in order to find our desired element. Since we already have the root, let's take a look at the next element.
💡 Note
In Figure 1.3, the second element down is actually the root. The top-most one highlighted will not be picked up as the root; it is just the application container.

Looking at the above screenshot (Figure 1.4), notice that the AutomationId is "NumberPad". That means that from the root element we can query for a child element called "NumberPad", then once we have the NumberPad element, we can query for a child called "num7Button". Once we have that we can interact with it however we want. Also we've searched for it through the application in the most efficient way possible.
    const string calculatorPath = "C:\\Windows\\System32\\calc.exe";
    using (EzProcess process = new EzProcess(calculatorPath, "Calculator"))
    {
      process.StartProcess();

      EzRoot root = new EzRoot(process);
      EzElement numPad = root.RootElement.FindChildByAutomationId("NumberPad");
      EzElement sevenButton = numPad.FindChildByAutomationId("num7Button");
    }
Interacting With an Element
Now that we have the element that we are looking for we can interact with it. While using a computer, one of the most common user interactions is to click something. Let's go ahead and click the "7" button. Doing so is very easy.
    const string calculatorPath = "C:\\Windows\\System32\\calc.exe";
    using (EzProcess process = new EzProcess(calculatorPath, "Calculator"))
    {
      process.StartProcess();
      EzRoot root = new EzRoot(process);
      EzElement numPad = root.RootElement.FindChildByAutomationId("NumberPad");
      EzElement sevenButton = numPad.FindChildByAutomationId("num7Button");
      sevenButton.Click();
    }
the .Click() method is available for any EzElement instance. Note that this method does not actually perform a physical click of the element, but instead calls the underlying method that the application uses when the user clicks the element. If you actually need to physically click the element, you can use a class called EzMouseFunctions which will perform a physical click instead of just invoking the underlying element.
    const string calculatorPath = "C:\\Windows\\System32\\calc.exe";
    using (EzProcess process = new EzProcess(calculatorPath, "Calculator"))
    {
      process.StartProcess();
      EzRoot root = new EzRoot(process);
      EzElement numPad = root.RootElement.FindChildByAutomationId("NumberPad");
      EzElement sevenButton = numPad.FindChildByAutomationId("num7Button");
      EzMouseFunctions.LeftClick(sevenButton);
    }
💡 Note
Calling EzMouseFunctions.LeftClick will actually move your mouse. If you are debugging or trying to do some other sort of work on your computer, you will find that your mouse keeps getting moved out of nowhere.
The last thing that we are going to do is add a Console.ReadLine() statement to the end. The only reason that we are doing this is to essentially pause the application so that we can view the results. When writing a normal test (as in one that isn't just for demonstration).
      const string calculatorPath = "C:\\Windows\\System32\\calc.exe";
      using (EzProcess process = new EzProcess(calculatorPath, "Calculator"))
      {
        process.StartProcess();
        EzRoot root = new EzRoot(process);
        EzElement numPad = root.RootElement.FindChildByAutomationId("NumberPad");
        EzElement sevenButton = numPad.FindChildByAutomationId("num7Button");
        EzMouseFunctions.LeftClick(sevenButton);
        Console.ReadLine();
      }
Now that all code writing is done, go ahead and run it. The result should be that the 7 button is clicked (either by calling the .Click method or using the physical mouse method).
That's it for this tutorial! This is of course essentially the most basic use case for UI automation, but hopefully it provided a basic overview of some of the more necessary functions that you will need to create a robust test suite. Please see the documentation page for more in-depth expalanations of what EazyE2E can do